How dealers refurbish a returned photocopier before reselling
The refurbishment process is a defined sequence of inspection, cleaning, replacement, and testing that takes a returned chassis from end-of-lease condition to ready-for-resale condition. Understanding the steps reveals what proper refurbishment costs and what corners get cut.

How chassis enter the refurbishment pipeline
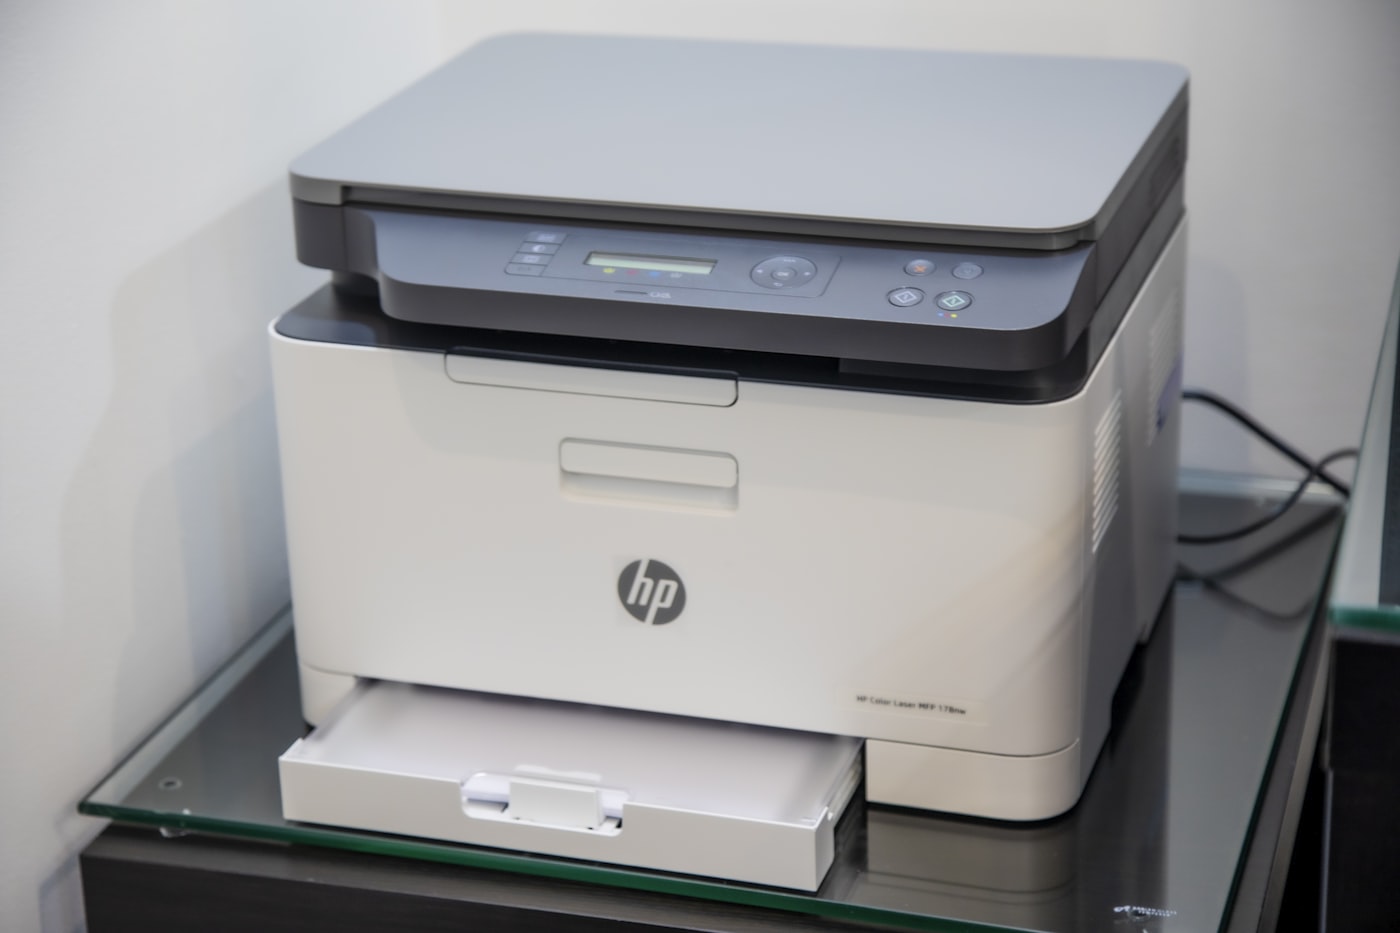
The refurbishment pipeline begins when a chassis returns to the dealer at end of lease, end of contract, or as a trade-in against a new acquisition. The dealer typically operates a refurbishment facility separate from the front-of-house showroom, often in an industrial unit on the outskirts of the operating city. The facility carries the diagnostic equipment, parts inventory, and trained technician staff that the refurbishment process requires.
The first step on chassis arrival is a full data sanitization cycle. The chassis hard drive runs through a certified erasure procedure that overwrites all storage areas multiple times to NIST 800-88 standards. The chassis address book, scan history, and document caches clear during this step. The data sanitization is critical because the previous customer may have stored regulated content on the chassis that the dealer needs to remove before any further work begins.
The chassis enters a triage assessment after data sanitization. The technician runs the manufacturer's diagnostic suite that reads internal counters, error logs, and component status. The triage result classifies the chassis into one of three paths. Full refurbishment for chassis with reasonable remaining life and clean diagnostic results. Limited reconditioning for chassis with shorter remaining life or specific issues that focused work can address. Parts harvesting for chassis where the cost of refurbishment exceeds the value of the resulting unit, where the chassis breaks down for usable components.
The full refurbishment process step by step
The full refurbishment process runs across approximately 8 to 14 hours of technician time spread across 2 to 3 working days. The first day handles disassembly, deep cleaning, and component replacement. The second day handles reassembly, calibration, and testing. The third day handles the test print cycle, final inspection, and documentation preparation.
The disassembly phase removes the imaging path components including the drum unit, fuser unit, transfer belt, and developer. The technician removes paper handling components including feed rollers, separator pads, registration assemblies, and the document feeder mechanisms. The chassis frame is exposed for cleaning and inspection of the interior surfaces and the components that remain installed.
The cleaning phase uses compressed air, electrostatic-safe cleaning solutions, and microfiber cloths to remove toner residue, paper dust, and accumulated debris from every surface that paper or air contact during operation. The cleaning extends to the interior of the cabinet including the air filtration paths, the exhaust ducting, and the ventilation grilles. The cleaning is thorough because residual contamination produces image quality issues during early customer service that erode the dealer's reputation.
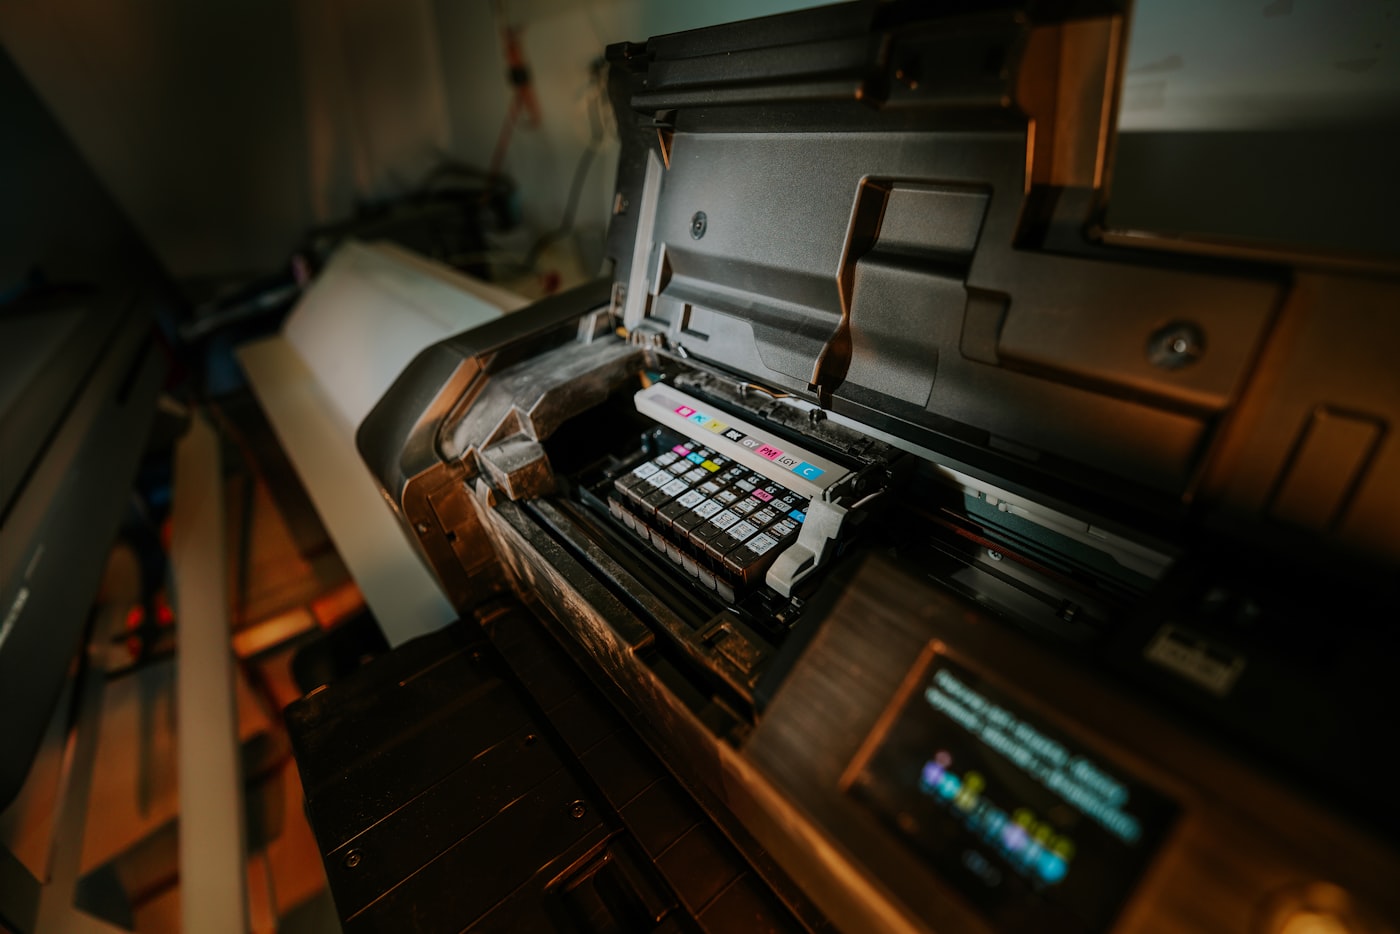
The component replacement phase
The component replacement phase installs new drum, fuser, transfer belt, and developer as standard. These four components together carry most of the imaging quality across the chassis service life, and replacing them as a set delivers a chassis that produces output equivalent to a new unit on first use. The total parts cost on these four components reaches 800 to 2,400 euros depending on the chassis bracket.
The replacement extends to wear components based on inspection results. Feed rollers and separator pads receive replacement when they show wear above manufacturer specifications, typically when they have processed more than 200,000 sheets. Registration rollers receive replacement when the inspection reveals visible wear patterns or mechanical play above tolerance. The document feeder rollers receive replacement when the document feeder has processed more than 150,000 originals. Each of these components costs 30 to 150 euros, and the cumulative replacement cost runs 200 to 600 euros across the wear inspection.
The replacement does not extend to components that pass inspection regardless of meter reading. The imaging laser unit, polygon mirror assembly, main control board, and chassis frame components remain in place because they typically last beyond chassis useful life and replacement is unnecessary unless specific damage exists. The technician inspects these components and notes any concerns in the refurbishment record, but replacement requires specific failure indicators rather than meter reading thresholds.
The reassembly and calibration phase
The reassembly phase rebuilds the chassis with new and inspected components. The technician follows the manufacturer's service manual procedures for proper torque on screws, correct orientation of belt tensioners, and proper alignment of optical components. The reassembly is the inverse of the disassembly with additional verification at each step that the components seat correctly and that the chassis sensors detect the components properly.
The calibration phase runs the manufacturer's service-level calibration procedures. Color chassis run color calibration that establishes the reference points for the new toner consumables. Density calibration sets the toner application rate for accurate output density. Registration calibration aligns the four color planes for clean color reproduction. Geometry calibration verifies that the imaging produces accurate page dimensions across the paper sizes the chassis supports. Each calibration takes 20 to 90 minutes depending on the depth, and the full calibration cycle runs 4 to 6 hours.
The calibration phase also updates the firmware to the current available version. The firmware update may include security patches, feature updates, and bug fixes that the manufacturer has released since the chassis was originally produced. The update process requires careful sequence because some firmware versions require interim updates before the current version installs correctly. The technician documents the starting firmware version and the ending firmware version in the refurbishment record.
The test print cycle and final inspection
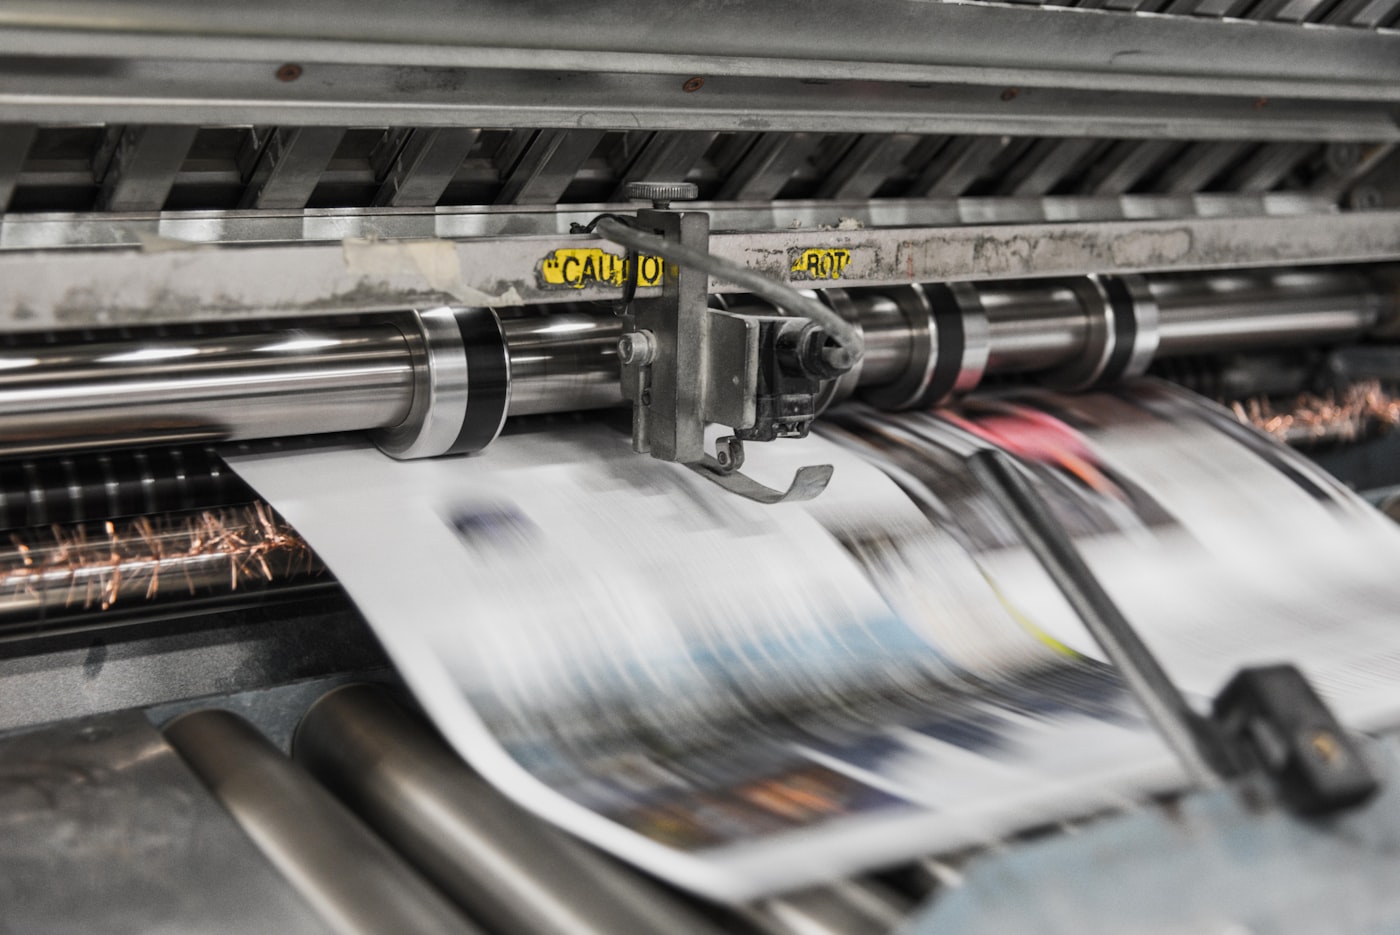
The test print cycle exercises the chassis under realistic working conditions. The standard cycle runs 500 to 2,000 pages of varied content including monochrome text, color graphics, photographic content, and finishing operations like duplex and stapling if the chassis supports them. The technician inspects output samples at intervals through the cycle to confirm consistent image quality and to detect any issues that emerge during sustained operation.
The test cycle catches issues that the static calibration does not reveal. A chassis can pass calibration with the test pages near the start of operation and develop image quality issues only after the chassis runs for several hundred pages and reaches operating temperature. The cycle reveals these issues before the chassis ships to a customer, which protects both the customer experience and the dealer's reputation.
The final inspection follows the test cycle. The technician inspects the output samples for image quality consistency, examines the chassis for any cosmetic damage that occurred during refurbishment work, verifies that all panels and covers seat correctly, and confirms that the chassis carries appropriate identification tags and refurbishment documentation. The chassis moves to the staging area for delivery preparation only after the final inspection clears.
The documentation that should accompany the chassis
The refurbishment documentation provides the new customer with verifiable evidence of the work performed. The standard documentation includes the original meter reading at chassis return, the components replaced during refurbishment, the firmware version at refurbishment, the calibration results, the test print cycle results, and the technician's signature and date. The documentation arrives with the chassis at delivery and serves as the basis for warranty claims if any issues appear during the warranty period.
The documentation also includes the data sanitization certificate. The certificate confirms that the chassis hard drive completed certified erasure procedures, identifies the standard followed, and provides a tracking number for the sanitization record. The certificate matters for compliance-conscious customers because the chassis previously held data from another customer, and the sanitization documentation provides assurance that residual data does not persist.
Less reputable dealers ship refurbished chassis without complete documentation. The absence of refurbishment documentation is itself a signal that the work performed may not meet the standards the buyer expects. A buyer should request the full documentation package before purchase commit and refuse delivery of chassis that arrive without the documentation. A note on how to verify a refurbishment certificate covers what details should appear on a legitimate document.
The cost structure for the dealer
| Cost component | Office bracket | Production bracket |
|---|---|---|
| Drum, fuser, belt, developer | 800-1,200 euros | 1,800-3,500 euros |
| Wear component replacements | 200-400 euros | 400-900 euros |
| Technician labor 10-14 hours | 500-800 euros | 800-1,400 euros |
| Diagnostic and calibration | 150-300 euros | 300-600 euros |
| Documentation and warranty | 50-150 euros | 100-300 euros |
| Total refurbishment cost | 1,700-2,850 euros | 3,400-6,700 euros |
The cost structure reveals why proper refurbishment carries the price it does. The dealer invests 1,700 to 2,850 euros into an office-bracket chassis before any margin, and the resulting refurbished chassis sells at 3,000 to 5,000 euros depending on the specific model and condition. The margin covers facility cost, parts inventory carrying cost, and the dealer's risk on warranty claims. Dealers who skip refurbishment steps reduce their cost but produce chassis that fail more often, which erodes their reputation and increases warranty cost.